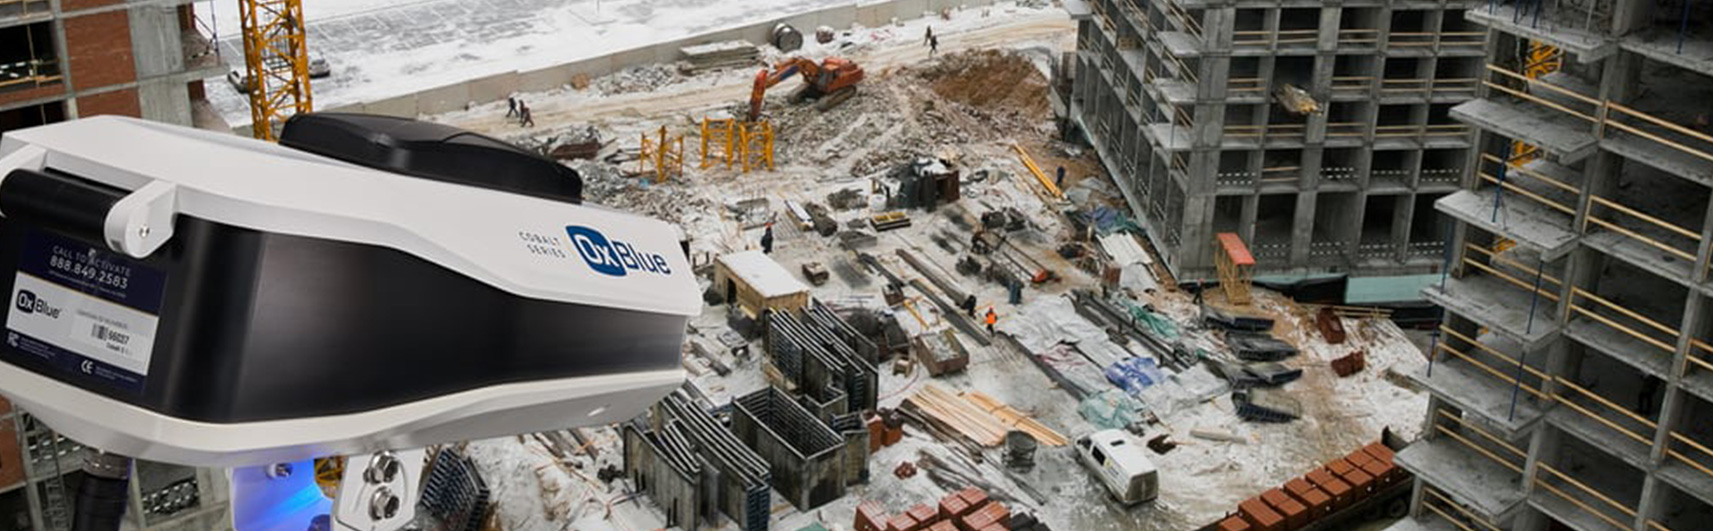
Time Lapse Construction Camera
WE INTEGRATE


Checklist
Power at the job site
All long-term construction cameras need a power source, but not all job sites are on the grid. That’s where solar power comes in. Your construction webcam should be compatible with an optional solar solution designed for the project location.
Image transmission: Ethernet vs. cellular
Image transmission, which makes remote project monitoring possible, is either over a cellular network or via Ethernet. A big advantage of cellular transmission is that it’s completely wireless. With a cellular gateway built into the construction camera, you have far greater flexibility in where you place the camera at the job site and which sites you use the camera at. It makes deployment much simpler.
Fixed-position and pan-tilt-zoom construction cameras
Fixed-position cameras are ideal for projects that can be captured completely from just one or two locations, so you don’t have to keep moving the camera around the job site to follow the action. They are also a good choice if time-lapse movies are especially important to you. Find out about the camera’s field of view. A wide-angle lens, which is standard on all our cameras, will capture more of the job site from a single location.
For wide-expanse projects, like bridges or sports stadiums, a PTZ camera is the way to go. But be sure to find out about solar compatibility and camera power. Not all PTZ construction cameras on the market are readily compatible with solar-power options, and many do not provide multi-megapixel resolutions on the higher end (i.e., 12, 16, 24 MP).
Megapixels
Most construction cameras are available in a range of megapixels. Our options range from 6 to 50 MP, with our panoramic images going much higher. While all cameras in this range provide high-resolution images, those on the higher end of megapixels increase the ability to zoom in very closely on images. So for larger projects where you need to zoom in on fine details, you’ll want a 16-MP camera at a minimum.
Camera durability
It goes without saying: You want your construction camera to last. And not just for the current project, but for all the ones to come, wherever they might be. Be sure to compare camera warranties and specs. Look for environmental controls (e.g., defrosters, fans, heaters) and the range of temperatures each camera can stand up to. The manufacturer’s warranty can be a good indication of camera reliability and durability.
A construction camera can help make everyone’s job easier. But only if it’s reliable, easy to use, and does what you and your teams need it to.
Our technical support team is available to answer your questions through phone or by email. Our team’s experience with different clients and situations allow them to help clients and suggest customized solutions based on their needs. We offer a network of qualified installers and on site tech support. Our proven standards assure you of consistent, professional service calls to maintain and reconfigure your system as necessary. Rely on network of certified technicians and field engineers to safely clean your equipment without missing any important project documentation images.